Accounts receivable are accounts that you establish with your customers to manage future payments for current sales. In this article, we explain basic setup of such accounts.
Access Receivable Accounts within Setup by following these steps:
Click the Setup button in the ribbon.
Locate Accounting > Receivable Accounts in the left window pane.
Follow the steps in the subsection below for editing, adding, or deleting a receivable account.

Search for and select a specific receivable account, using the instructions in the section above.
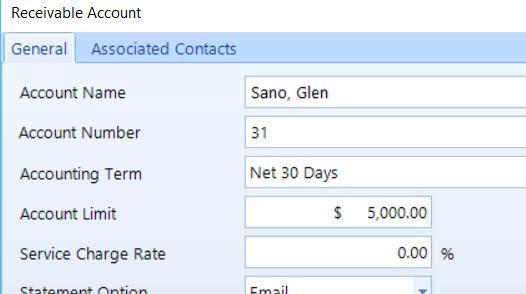
Click the Edit button in the ribbon to display a popup containing the details of the account.

Follow these steps to create a new receivable with a contact:
Click the Add button in the ribbon to open the Receivable Account popup.
If you only want to create a basic receivable account with no contacts, check the second box and continue to the next subsection.

To create a receivable account with a contact, check the first box and then click the Next button to move to the next panel.
Enter the Contact information, and then click the Next button.
Enter all of the information for the account and click the Save button.
Follow these steps to create a receivable account without a contact:
Click the Add button in the ribbon to open the Receivable Accounts popup.
Check the second box to create a bare receivable account and click the Next button.
Enter all of the information for the account and click the Save button.
Later, you can add contacts by following the instructions in the next section.
You can associate one or more contacts with a receivable account, which gives you the flexibility of having multiple suppliers posting to the same receivable account. Follow these steps to associate a contact with a receivable account:
Access the Accounts Receivable feature, then search for and select a specific receivable account (instructions can be found at the top of this article).
In the Receivable Account popup, click the Associated Contacts tab (see the figure below), which lists any contacts which already have an association with the account.
To associate another contact, click the Add button.
In the Contacts window, add a new contact–or search for an existing contact.
After choosing a contact, click the Save button in the Receivable Account popup.

Follow these steps to associate a contact with a receivable account:
Access the Accounts Receivable feature, then search for and select a specific receivable account (instructions can be found in the sections at the top of this article).
Click the Delete command button located in the Accounts group of the ribbon.
Click Yes to confirm that you want to delete this receivable account.