Payable accounts, or accounts payable, are accounts you have established with your suppliers and vendors. These accounts will contain transactions that have been posted to be paid at a later time or credits received to be applied against those transactions owing. It is also where you will reconcile and pay amounts owing for the account.
In the sections below, you'll find explanations on how to perform these tasks:
Accessing Accounts Payable in Setup
Searching for an existing payable account
Add, edit, or delete a payable account
To see an explanation of all accounts payable features, see the Accounts Payable article.
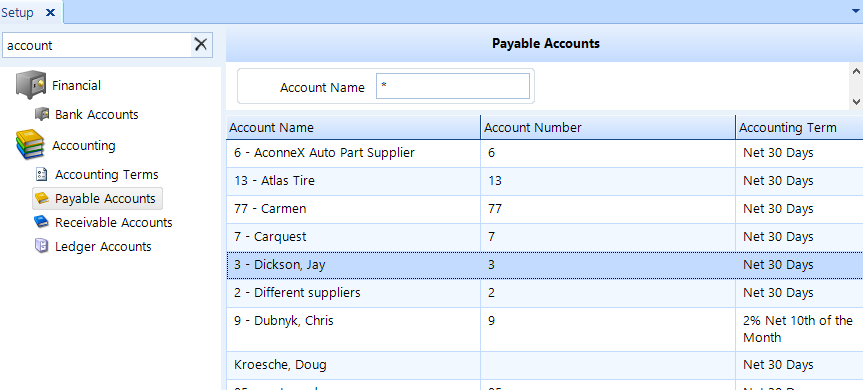
To access Payable Accounts, click on the Setup button in the ribbon. Click the Payable Accounts item beneath the Accounting node of the tree menu in the left window pane.

Follow these steps to search for a payable account:
Access the Payable Accounts feature using the instructions above.
In the Account Name field, enter you search term and then press the Enter key (or click the Search button in the ribbon).
Click the payable account from the listing and then click the Edit button in the ribbon.
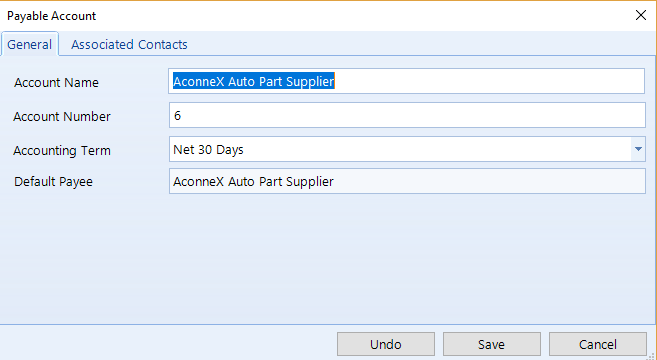
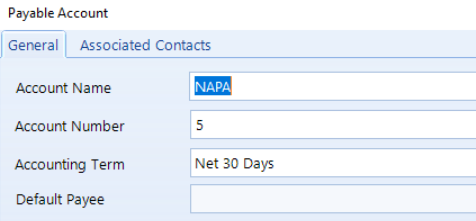
The details of the payable account will appear in a popup window.

Access the Payable Accounts feature, as we explain in the first section. Then follow the steps below for editing, adding, or deleting a payable account.
Search for and select a specific payable account, as we explain in the section above.
Click the Edit button in the ribbon to display a popup containing the details of the account.
Modify items in the General tab and/or the Associated Contacts tab. See the Associate a contact with a payable account subsection below for instructions on how to associate a contact with this payable account.
Click Save to commit your changes.

This procedure is identical to what is given in the Setup > Accounting > Payable Accounts article in this guide. Follow these steps to create a new payable with a contact:
Click the Add button in the ribbon to open the Payable Account popup.
If you only want to create a basic payable account with no contacts, check the second box and continue to the next subsection.

To create a payable account with a contact, check the first box and then click the Next button to move to the next panel.
Enter the Contact information, and then click the Next button.
Enter all of the information for the account and click the Save button.
Follow these steps to create a payable account without a contact:
Click the Add button in the ribbon to open the Payable Accounts popup.
Check the second box to create a bare payable account and click the Next button.
Enter all of the information for the account and click the Save button.
Later, you can add contacts by following the instructions in the next section.
You can associate one or more contacts with a payable account, which gives you the flexibility of having multiple suppliers posting to the same payable account. Follow these steps to associate a contact with a payable account:
Using the instructions in the first sections of this article, access the Payable Accounts feature then search for and select a specific payable account.
In the Payable Accounts popup, click the Associated Contacts tab (see the figure below), which lists any contacts which already have an association with the account.
To associate another contact, click the Add button.
In the Contacts window, add a new contact–or search for an existing contact.
After choosing a contact, click the Save button.

Follow these steps to associate a contact with a payable account:
Access the Accounts Payable feature, then search for and select a specific payable account (instructions can be found in the sections at the top of this article).
Click the Delete button in the ribbon.
Click Yes to confirm that you want to delete this payable account.